Home > Product > Gas turbine system > IS200TREAH2AED Gas turbine module
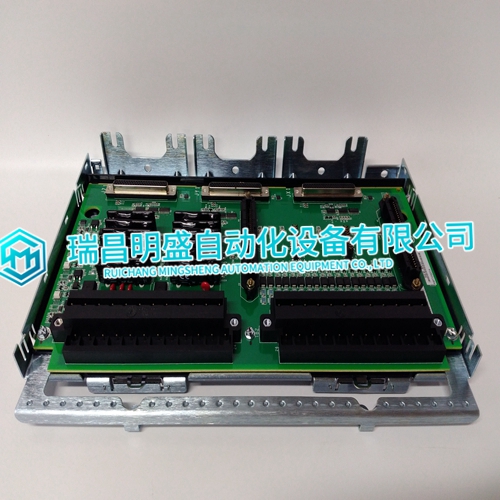
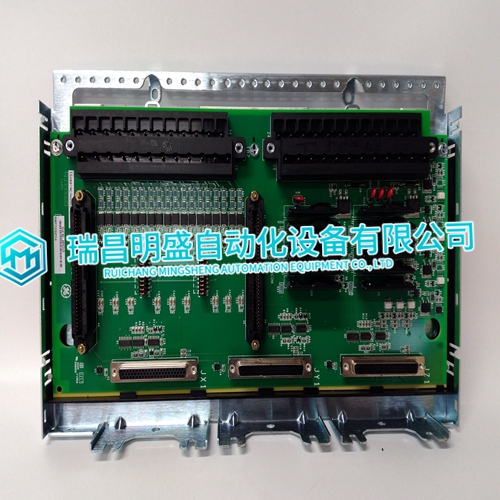
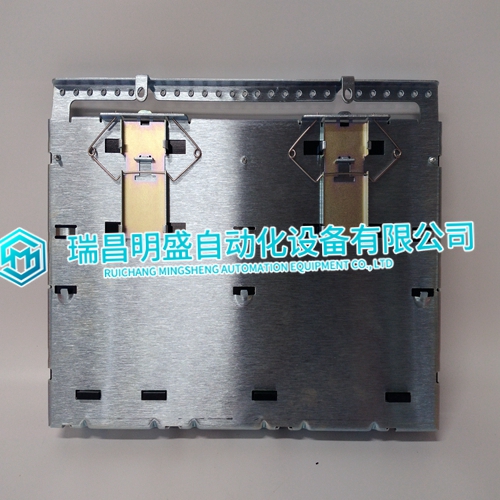
IS200TREAH2AED Gas turbine module
- Product ID: IS200TREAH2AED
- Brand: GE
- Place of origin: the United States
- Goods status: new/used
- Delivery date: stock
- The quality assurance period: 365 days
- Phone/WhatsApp/WeChat:+86 15270269218
- Email:stodcdcs@gmail.com
- Tags:IS200TREAH2AEDGas turbine module
- Get the latest price:Click to consult
IS200TREAH2AED Gas turbine module
If power has not been removed from the control system, power will be active at the module and also at the cable connectors. It is recommended that the cables not be removed until after the module has been unseated. If cables are removed with power applied, care must be used to avoid shorting cable connector pins. HIGH VOLTAGE—If the high voltage FTM is being used with the 48/24 Discrete I/O module, and there is 125 Vdc on the FTM terminal blocks, there will be 125 Vdc on the FTM sub D connectors and on the cable when it is connected to the FTM. For this reason, all power should be removed from the FTM terminal blocks before disconnecting any cables.
Toggle the CPU switch to the reset position.
2. Remove the cable saddle at the top of the chassis section. The saddle can be lifted off by removing the two screws which hold it in place. 3. Unscrew the module’s captive-screw fasteners (one at the top of the module and the other at the bottom), and release the module by simultaneously pressing the top module handle up and the bottom module handle down. 4. Unseat the module from the motherboard by pulling the module straight out along the card guide slots until it is approximately 25 mm (1 inch) from the motherboard. 5. Disconnect the I/O cable from the module, and secure the ends to avoid damage or shorting of pins. The I/O cable uses a slide latch (to disengage, slide the latch towards the top of the module). 6. Disconnect the I/O cable from the FTM or Relay/Discrete Input module. This may require removal of the cable shield termination clamp that is next to an FTM in a commercial Marine installation.
Install the replacement I/O cable
and connect it to the FTM or Relay/Discrete Input module, securing the end to avoid shorting or damage to pins. Remember to install the cable shield termination clamp that is next to an FTM in a commercial Marine installation. 8. Connect the I/O cable to the module. The I/O cable uses a slide latch (to engage, slide the latch towards the bottom of the module). Verify that the I/O cable is connected to the correct cable connector. 9. With even pressure exerted at the top and the bottom of the module, seat the module into the motherboard. 10. Tighten the two captive-screw fasteners (one at the top of the module and the other at the bottom). 11. If power was removed, reapply power. 12. Put the CPU module back in run mode. 13. Verify that the new MicroNet module is working correctly. 14. Reinstall the cable saddle.
The main products
Spare parts spare parts, the DCS control system of PLC system and the robot system spare parts,
Brand advantage: Allen Bradley, BentlyNevada, ABB, Emerson Ovation, Honeywell DCS, Rockwell ICS Triplex, FOXBORO, Schneider PLC, GE Fanuc, Motorola, HIMA, TRICONEX, Prosoft etc. Various kinds of imported industrial parts
Products are widely used in metallurgy, petroleum, glass, aluminum manufacturing, petrochemical industry, coal mine, papermaking, printing, textile printing and dyeing, machinery, electronics, automobile manufacturing, tobacco, plastics machinery, electric power, water conservancy, water treatment/environmental protection, municipal engineering, boiler heating, energy, power transmission and distribution and so on.
