Home > Product > DCS control system > 5SDF0860H0003 Silicon controlled rectifier
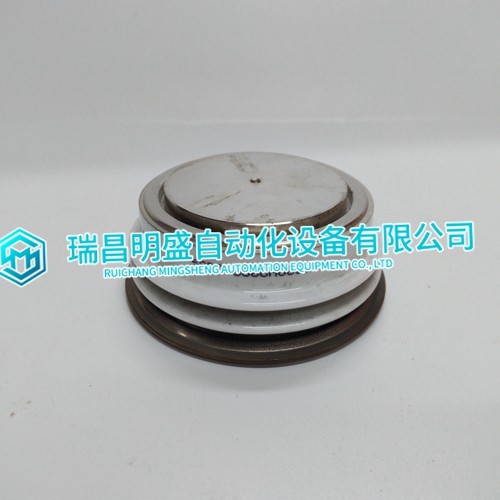


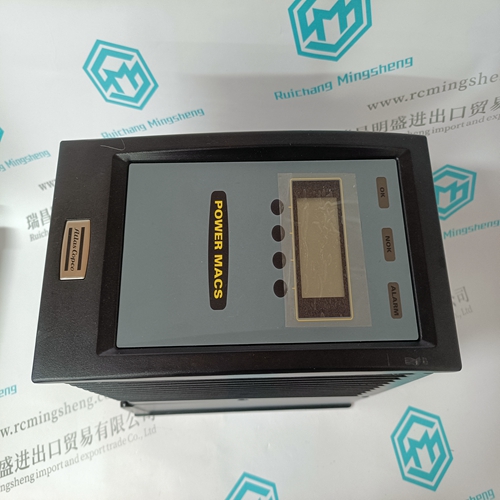
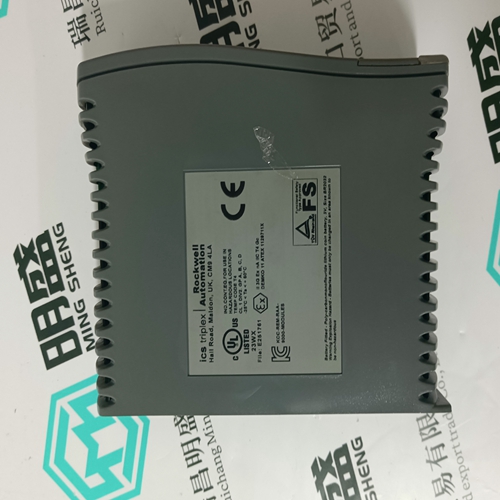
5SDF0860H0003 Silicon controlled rectifier
- Product ID: 5SDF0860H0003
- Brand: ABB
- Place of origin: The Swiss
- Goods status: new/used
- Delivery date: stock
- The quality assurance period: 365 days
- Phone/WhatsApp/WeChat:+86 15270269218
- Email:xiamen2018@foxmail.com
- Tags:5SDF0860H0003Silicon controlled rectifier
- Get the latest price:Click to consult
5SDF0860H0003 Silicon controlled rectifier
link response - unrestricted or series B emulation. Certain scanner modules with multiple communication ports require a delay in the link turnaround time to allow the central processing unit (CPU) in the scanner sufficient time to service all communication ports. Without this delay, some incoming information may be missed while the scanner is servicing another port. This results in multiple communication retries. To provide the necessary delay, set the link response switch (position 5, switch S2) to the ON position.• noise immunity – enables backplane retries to occur when noise is detected on the I/O rack backplane. This feature is enabled when the switch is off. Do not use this switch position as a substitute for improper noise suppression. Refer to the Table below for Figure and page numbers of switch settings for each processor family.
The backplane switch assembly is located
on the backplane of the I/O chassis. You use it to select: • the last state of all outputs • the processor restart lockout feature • 1/2-, 1- or 2-slot addressing • the last chassis in the I/O system (for PLC-2 family processors) Refer to the table below for backplane switch setting illustrations for the various processors.You use the I/O chassis power-supply configuration plug (Figure 2.13) to identify the type of power supply you use with your remote chassis. This configuration plug is located on the backplane of series B I/O chassis.
If this is the last remote I/O adapter on the link, you must use a terminating resistor to terminate both ends of the remote I/O link (scanner end and last adapter end). Connect the terminator across terminals 1 (blue) and 3 (clear).
The field wiring arm provides connection points for:
• I/O communication cables • a user-supplied I/O chassis restart pushbutton The wiring arm pivots on the front of the chassis to connect with the module’s printed circuit board, allowing you to remove the adapter module without disconnecting the system wiring. Connect input/output cables to the field wiring arm as shown in Figure 2.14.Terminals 1 and 4, 2 and 5, and 3 and 6 are internally connected on the module. If you use these terminals (4, 5, and 6) for connection of additional adapter modules, you disconnect the remaining adapter modules in the series connection when you disconnect the remote I/O adapter module wiring arm. If this is unsuitable for your application, make your connections to terminals 1, 2, and 3 only.