Home > Product > DCS control system > FSEL003 F202174.02 Output structure module
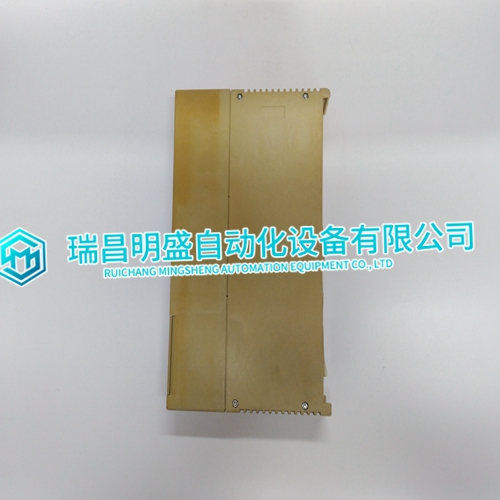
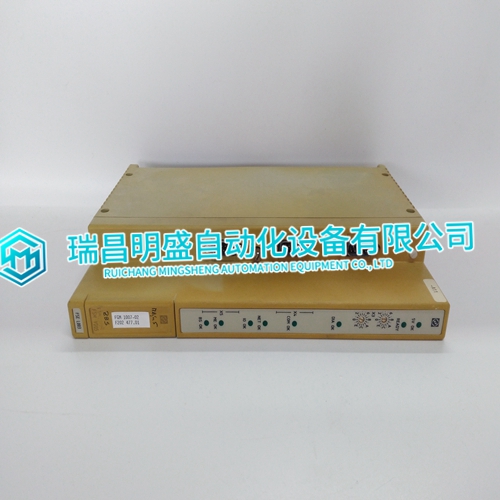
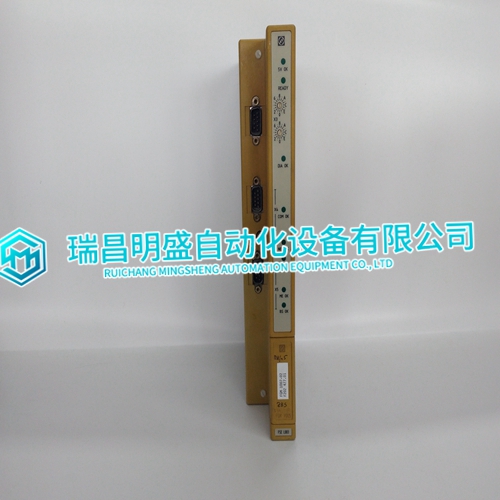
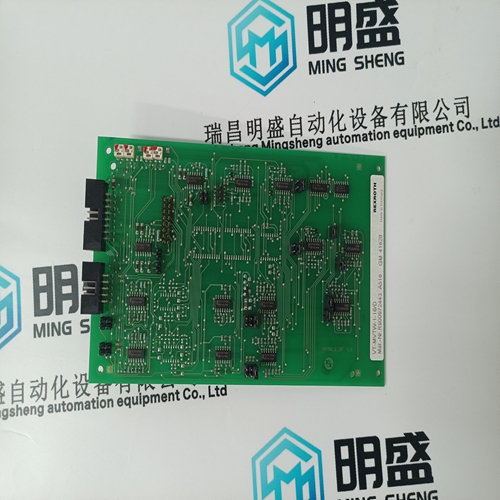
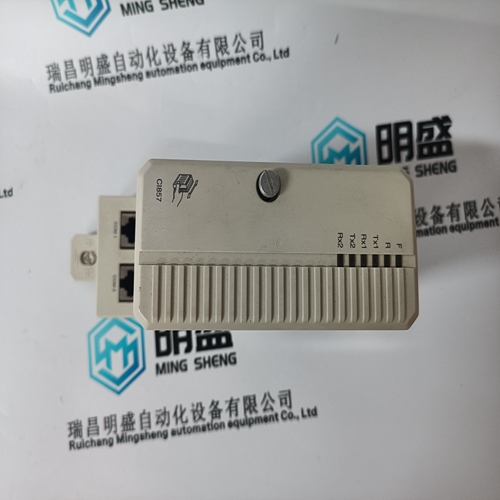
FSEL003 F202174.02 Output structure module
- Product ID: FSEL003 F202174.02
- Brand: FOXBORO
- Place of origin: The United States
- Goods status: new/used
- Delivery date: stock
- The quality assurance period: 365 days
- Phone/WhatsApp/WeChat:+86 15270269218
- Email:stodcdcs@gmail.com
- Tags:FSEL003F202174.02Output structure module
- Get the latest price:Click to consult
FSEL003 F202174.02 Output structure module
This table contains a list of static MAC addresses that the module will use when an # ARP is required. The module will accept up to 40 static IP/MAC address data sets. Important: If the device in the field is changed, this table must be updated to contain the new MAC address for the device and downloaded to the module. If the MAC is not changed, no communications with the module will occur.
All data related to the MVI46-MNET module is stored in a user defined data files and the module’s M1 file. Files should be defined for each data type to be used with the module. Additionally, a file should be defined to hold the module status data. The status data should be copied from the M1 file and placed in the assigned status file. Input (monitor) data should be copied from the user file to the M1 file and output (command) data should be copied from the user files to the M1 file.
Ethernet Configuration
Use this procedure to configure the Ethernet settings for your module. You must assign an IP address, subnet mask and gateway address. After you complete this step, you can connect to the module with an Ethernet cable
Ladder logic is required for application of the MVI46-MNET module. Tasks that must be handled by the ladder logic are module data transfer, special block handling, and status data receipt. Additionally, a power-up handler may be needed to handle the initialization of the module’s data and to clear any processor fault conditions. The sample ladder logic, on the ProSoft Solutions CD-ROM, is extensively commented, to provide information on the purpose and function of each rung. For most applications, the sample ladder will work without modification.
Download the Project to the Module
In order for the module to use the settings you configured, you must download (copy) the updated Project file from your PC to the module. To Download the Project File
1 In the tree view in ProSoft Configuration Builder, click once to select the MVI46-MNET module.
2 Open the PROJECT menu, and then choose MODULE / DOWNLOAD. The program will scan your PC for a valid com port (this may take a few seconds). When PCB has found a valid com port, the DOWNLOAD dialog box will open.
3 Choose the com port to use from the dropdown list, and then click the DOWNLOAD button. The module will perform a platform check to read and load its new settings. When the platform check is complete, the status bar in the DOWNLOAD dialog box with the message "Module Running".
