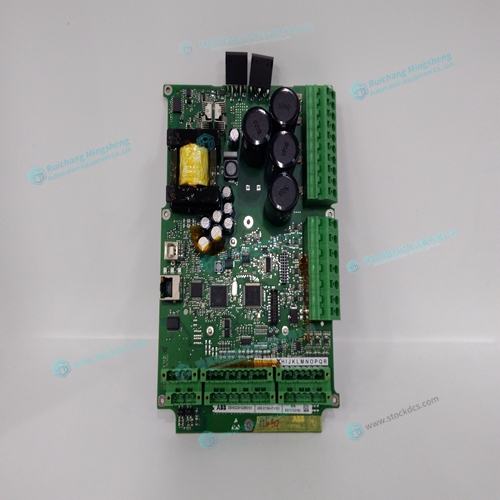
Home > Product > DCS control system > 3BHE029153R0101 UNS0119A-P Excitation control card
3BHE029153R0101 UNS0119A-P Excitation control card
- Product ID: 3BHE029153R0101 UNS0119A-P
- Brand: ABB
- Place of origin: The Swiss
- Goods status: new/used
- Delivery date: stock
- The quality assurance period: 365 days
- Phone/WhatsApp/WeChat:+86 15270269218
- Email:stodcdcs@gmail.com
- Tags:3BHE029153R0101UNS0119A-PExcitation control card
- Get the latest price:Click to consult
3BHE029153R0101 UNS0119A-P Excitation control card
Using Galil Software for Windows The controller must be registered in the Windows registry for the host computer to communicate with it. The registry may be accessed via Galil software, such as WSDK or GALIL Smart Terminal. Use the New Controller button to add a new entry in the registry or alternatively click on the Find Ethernet Controller to have the software search for controllers connected to the network. When adding a new controller, choose DMC-21x2 as the controller type. Enter the IP address obtained from your system administrator. Select the button corresponding to the UDP or TCP protocol in which you wish to communicate with the controller. If the IP address has not been already assigned to the controller, click on ASSIGN IP ADDRESS.
ASSIGN IP ADDRESS
will check the controllers that are linked to the network to see which ones do not have an IP address. The program will then ask you whether you would like to assign the IP address you entered to the controller with the specified serial number. Click on YES to assign it, NO to move to next controller, or CANCEL to not save the changes. If there are no controllers on the network that do not have an IP address assigned, the program will state this. When done registering, click on OK. If you do not wish to save the changes, click on CANCEL. Once the controller has been registered, select the correct controller from the list and click on OK. If the software successfully established communications with the controller, the registry entry will be displayed at the bottom of the screen in the Status window. NOTE: The controller must be registered via an Ethernet connection.
Notes on Configuring Sinusoidal Commutation
The command, BA, reconfigures the controller such that it has one less axis of 'standard' control for each axis of sinusoidal commutation. For example, if the command BAA is given to a DMC-2142 controller, the controller will be re-configured to be a DMC-2132 controller. In this case the highest axis is no longer available except to be used for the 2nd phase of the sinusoidal commutation. Note that the highest axis on a controller can never be configured for sinusoidal commutation. The DAC associated with the selected axis represents the first phase. The second phase uses the highest available DAC. When more than one axis is configured for sinusoidal commutation, the controller will assign the second phases to the DACs which have been made available through the axes reconfiguration. The highest sinusoidal commutation axis will be assigned to the highest available DAC and the lowest sinusoidal commutation axis will be assigned to the lowest available DAC. Note that the lowest axis is the A axis and the highest axis is the highest available axis for which the controller has been configured.
