Home > Product > DCS control system > ABB PM861 3BSE018129R1 Input characteristic card
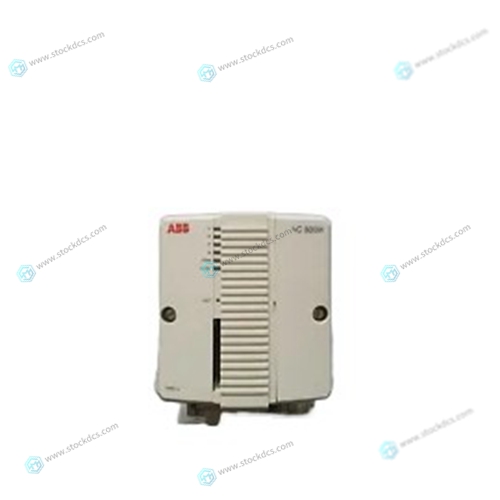
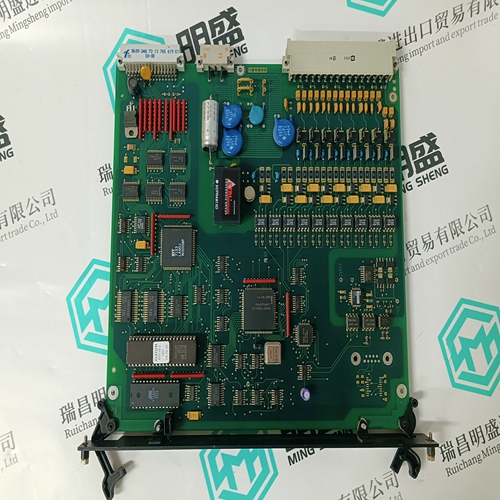
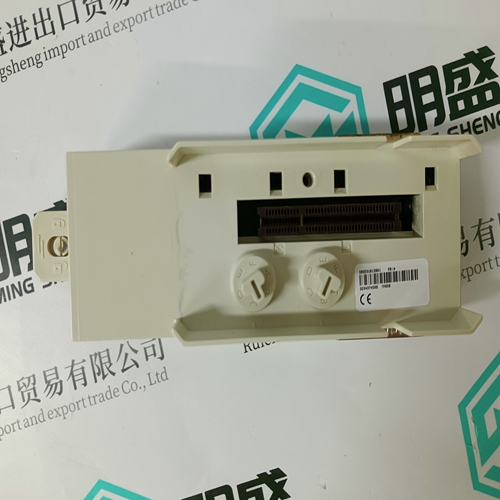
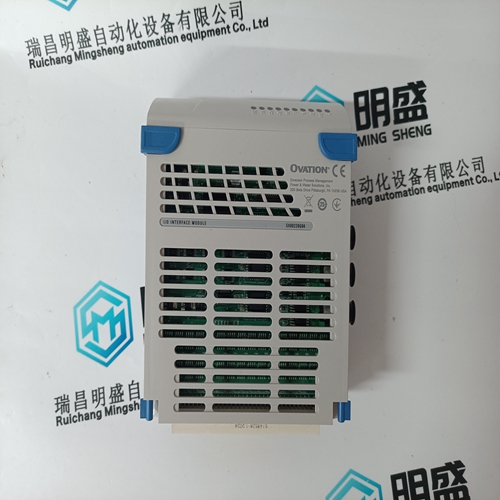
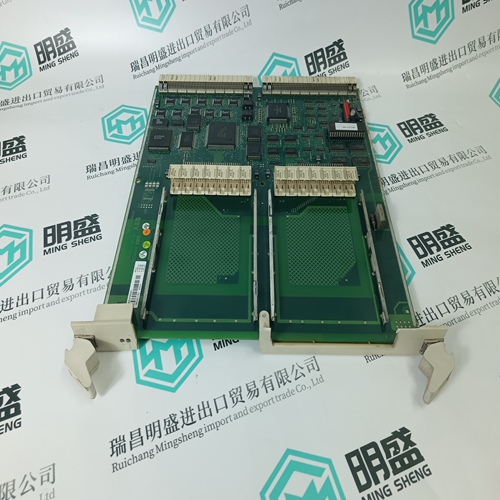
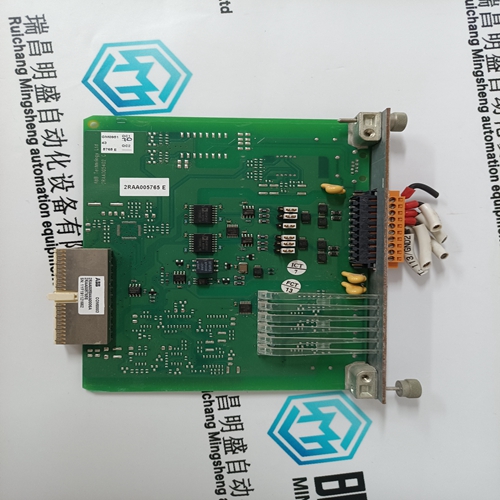
ABB PM861 3BSE018129R1 Input characteristic card
- Product ID: PM861 3BSE018129R1
- Brand: ABB
- Place of origin: The Swiss
- Goods status: new/used
- Delivery date: stock
- The quality assurance period: 365 days
- Phone/WhatsApp/WeChat:+86 15270269218
- Email:stodcdcs@gmail.com
- Tags:ABBPM8613BSE018129R1Input characteristic card
- Get the latest price:Click to consult
ABB PM861 3BSE018129R1 Input characteristic card
Configuring the RSLinx Driver for the PC COM Port If RSLogix is unable to establish communication with the processor, follow these steps. 1 Open RSLinx. 2 Open the COMMUNICATIONS menu, and choose CONFIGURE DRIVERS. This action opens the Configure Drivers dialog box. Note: If the list of configured drivers is blank, you must first choose and configure a driver from the Available Driver Types list. The recommended driver type to choose for serial communication with the processor is RS-232 DF1 Devices.3 Click to select the driver, and then click CONFIGURE. This action opens the Configure RS-232 DF1 Devices dialog box. 4 Click the AUTO-CONFIGURE button. RSLinx will attempt to configure your serial port to work with the selected driver. 5 When you see the message Auto Configuration Successful, click the OK button to dismiss the dialog box.
Using ProSoft Configuration
Builder ProSoft Configuration Builder (PCB) provides a quick and easy way to manage module configuration files customized to meet your application needs. PCB is not only a powerful solution for new configuration files, but also allows you to import information from previously installed (known working) configurations to new projects. If the auto-configuration procedure fails, verify that the cables are connected correctly between the processor and the serial port on your computer, and then try again. If you are still unable to auto-configure the port, refer to your RSLinx documentation for further troubleshooting steps.
Connecting Your PC to the Module
With the module securely mounted, connect your PC to the Configuration/Debug port using an RJ45-DB-9 Serial Adapter Cable and a Null Modem Cable. 1 Attach both cables as shown. 2 Insert the RJ45 cable connector into the Configuration/Debug port of the module. 3 Attach the other end to the serial port on your PC.If you have used other Windows configuration tools before, you will find the screen layout familiar. PCB’s window consists of a tree view on the left, and an information pane and a configuration pane on the right side of the window. When you first start PCB, the tree view consists of folders for DEFAULT PROJECT and DEFAULT LOCATION, with a DEFAULT MODULE in the Default Location folder. The following illustration shows the PCB window with a new project.


Brand display
ABB、GE/FUANC、FOXBORO、TRICONEX 、BENTLY、A-B、EMERSON 、MOTOROLA、XYVOM、HONEYWELL 、REXROTH、KUKA、NI、DEIF、Yokogawa、WOODWARD、Reliance Electric、SCHNEIDER 、MOOG、PROSOFT、KOLLMORGEN、ICS TRIPLEX、HIMA。
