Home > Product > PLC programmable module > RELIANCE WR-D4007 Semiconductor module
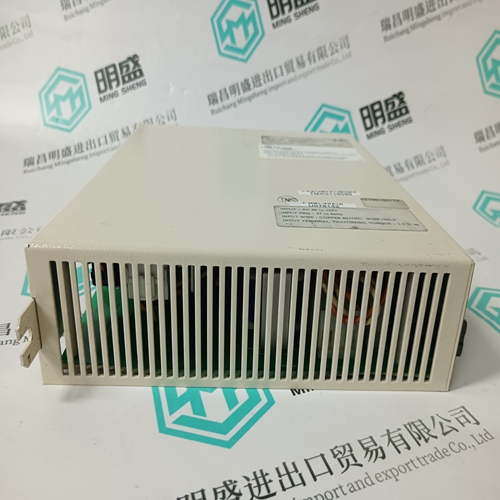
RELIANCE WR-D4007 Semiconductor module
- Product ID: WR-D4007
- Brand: RELIANCE
- Place of origin: the United States
- Goods status: new/used
- Delivery date: stock
- The quality assurance period: 365 days
- Phone/WhatsApp/WeChat:+86 15270269218
- Email:stodcdcs@gmail.com
- Tags:RELIANCEWR-D4007Semiconductor module
- Get the latest price:Click to consult
The main products
Spare parts spare parts, the DCS control system of PLC system and the robot system spare parts,
Brand advantage: Allen Bradley, BentlyNevada, ABB, Emerson Ovation, Honeywell DCS, Rockwell ICS Triplex, FOXBORO, Schneider PLC, GE Fanuc, Motorola, HIMA, TRICONEX, Prosoft etc. Various kinds of imported industrial parts
RELIANCE WR-D4007 Semiconductor module
Note: (1) in the following text means: does not applied to KDS1 and older types TDM1, TDM2 with serial numbers below SN 233 ..., TDM3 with serial numbers below SN 240060-... TDM4 with serial numbers below SN 240062-... 1. Power separation First, the power input fuses at the mains should be removed, or the power load between the driving equipment and the mains must be securely separated by some means. 2. Switch-on control voltage Switch-on control voltage for the supply module (also see power-up sequence, Chapter 6.4). The green diagnostic display lamps • „24V/+15V“ • 1 or 2 lamps „BLC1, BLC2, BLC3“, and, • „tacho“ of the servo drive module light up as well as • „Bb“ (1), which flashes. If „RF“ (1) is blinking, then the drive has already been enabled by the externally connected voltage at terminal RF. To avoid any unnecessary start-up after switching on the power, power to terminal RF should be turned off. Lamp „RF“ then goes off. If there are no problems, and, if the end plug has been plugged-in, then signal contact „Bb1“ of the supply unit closes. 3. Measure voltage rates +15V, -15V, +24V at the supply module and servo drive motor. The 24V voltage rate can, depending upon mains under or over voltage, be either higher or lower in the TVM1. 4. Fan: It should be checked whether the fans – in all modular units – in all ventilated motors are running and whether the air can enter and exit without obstruction.
Blocking brake controller
– First check whether the blocking brake connecting voltage ranges between +21.6V and 26.4V (24V plus/minus 10%). – The controller enable signal to activate the drive, and the signal to release the blocking brake or any other axis block, should be given simultaneously. It must definitely be checked to see whether the axis clamp releases upon input of signal. – The mechanical brake must be released prior to running the drive (Fig. 73) to avoid wear and tear. – The mechanical brake should not be actuated until after the drive has stopped to avoid wear and tear.
Check link circuit short-circuit (if one is present): The control switch must guarantee that the mains contactor does not close until the link circuit short-circuit contactor has been opened before hand at the correct time. Otherwise, there is the danger of damaging both the link circuit resistance and the contactor. Using the link circuit short circuit to brake is not suitable for constant cyclical switching, but only for emergency off situations, or, if the limit switch has been overrun. 7. Emergency-Off Functions After hitting the emergency-off switch – – safely open the power contactor on the mains, – the link circuit short circuit should snap in, if it has been built in, – the control enable signal at terminal RF must be switched off via a contact, – the mechanical brake has to snap in, to the extent that it is needed. This should be checked using the controller switch. (Recommendations can be found in the description of the supply module used.)