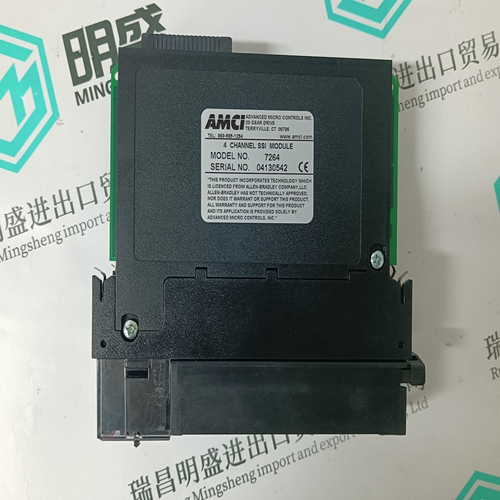
Home > Product > DCS control system > ABB PM633 3BSE008062R1 Redundant channel module
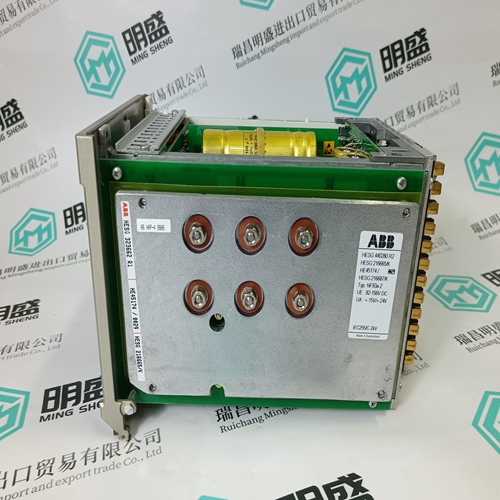
ABB PM633 3BSE008062R1 Redundant channel module
- Product ID: PM633 3BSE008062R1
- Brand: ABB
- Place of origin: The Swiss
- Goods status: new/used
- Delivery date: stock
- The quality assurance period: 365 days
- Phone/WhatsApp/WeChat:+86 15270269218
- Email:xiamen2018@foxmail.com
- Tags:ABBPM6333BSE008062R1Redundant channel module
- Get the latest price:Click to consult
ABB PM633 3BSE008062R1 Redundant channel module
This part number interpreter is comprised of 18 separate fields. In these fields letters and numbers are used to define the final configuration of a unit. There are two versions of the generator, one is the standard version and the other is a planned series of spin-off products based on the standard version. The two tables on the following pages describe all the possible values for these fields for a standard and Genesis product spin-off unit.The values and options listed in the table below are for the standard version of the Genesis generator.The unit you have received should have the value “25” in the fourth and fifth fields of the final part number. Check the serial tag on the back of the generator. If it doesn’t have “25” in the part number, contact the nearest ENI Sales or Service location for assistance.
Getting Started Quickly
This section is intended to provide you with a set of instructions to enable you to quickly set up and start running your generator. References to more detailed information is provided at the end of each step. To quickly set up your GHW-25 / GHW-50 Genesis generator, follow the procedure below: 1. Connect the solenoid valve plug. (See section 2.10 for a description of the solenoid valve.) 2. Connect the water inlet and outlet hoses securely to the water inlet and outlet connections on the rear panel of the generator. (See section 2.10 for more information on the connectors.)
Insert the External Interlock
plug into the interlock connector on the rear panel marked “INTERLOCK.” AC Power will not engage until this interlock is defeated (plugged).Plug the AC Main line cord into the AC receptacle in the back of the unit. Make sure the line voltage matches the voltage you selected when the unit was ordered.Connect the 9-pin male serial digital interface to the female serial interface connector on the rear panel.Connect an analog control cable, if you’re not running a remote front panel, to the analog interface connection on the rear panel. There is a safety interlock in pins 10 and 23. This interlock must also be defeated (in this case shorted) for the unit to work. AC power will not engage unless this interlock is defeated. This interface will vary depending on what type of interface was selected when the unit was ordered. If your unit does not have a fully functional front panel or you are using a remote front panel or a terminal, connect the interface input. This connection is either a 9-pin, 25-pin or 37-pin plug.


Application industry
The products can be used in the following industries: power plant, paper making, steel, mining, rubber, water supply, cement, chemical industry, glass, printing
Textile, machinery, plastics, coatings, medicine, hospitals, food, hotels, scientific research institutions
Do you want to know about our products?
We have a large amount of inventory and high quality, out of production control system components, DCS system accessories, robot system accessories, large servo system spare parts. PLC module, DCS module, CPU module, IO module, DO module, AI module, DI module, network communication module, Ethernet module, motion control module, analog input module, analog output module, digital input module, digital output module, redundancy module, power module, relay output module, relay input module, processor module and other major brands.

