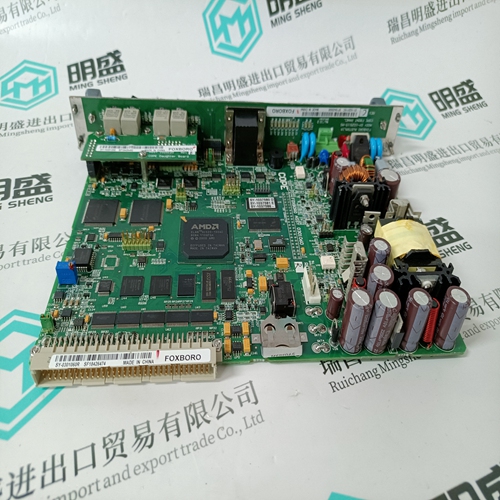
Home > Product > PLC programmable module > 140CPS11420 Input module
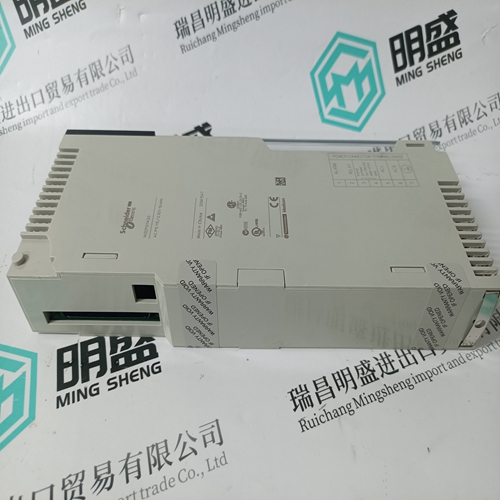
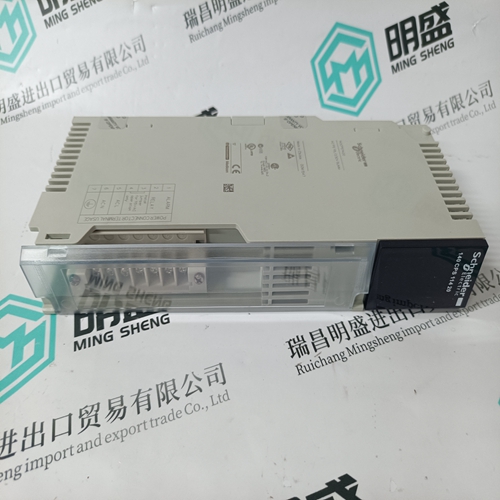
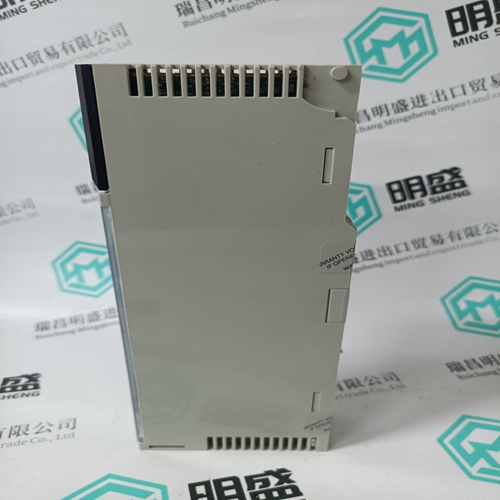
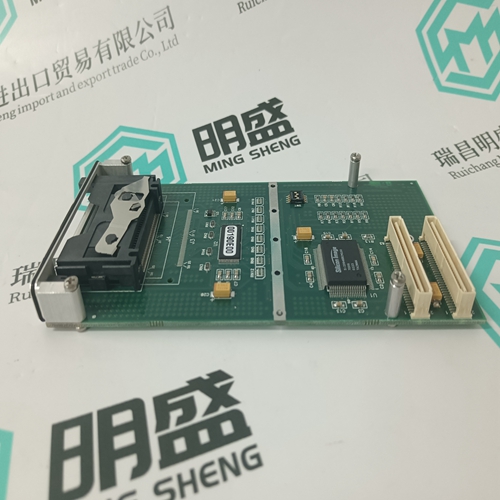
140CPS11420 Input module
- Product ID: 140CPS11420
- Brand: 140PLC
- Place of origin: the United States
- Goods status: new/used
- Delivery date: stock
- The quality assurance period: 365 days
- Phone/WhatsApp/WeChat:+86 15270269218
- Email:stodcdcs@gmail.com
- Tags:140CPS11420Input module
- Get the latest price:Click to consult
The main products
Spare parts spare parts, the DCS control system of PLC system and the robot system spare parts,
Brand advantage: Allen Bradley, BentlyNevada, ABB, Emerson Ovation, Honeywell DCS, Rockwell ICS Triplex, FOXBORO, Schneider PLC, GE Fanuc, Motorola, HIMA, TRICONEX, Prosoft etc. Various kinds of imported industrial parts
Products are widely used in metallurgy, petroleum, glass, aluminum manufacturing, petrochemical industry, coal mine, papermaking, printing, textile printing and dyeing, machinery, electronics, automobile manufacturing, tobacco, plastics machinery, electric power, water conservancy, water treatment/environmental protection, municipal engineering, boiler heating, energy, power transmission and distribution and so on.
140CPS11420 Input module
Inserting a Chip into the LabChip GX Touch/GXII Touch Instrument 1 Check that the sample plate, Buffer Tube, and Ladder Tube are properly placed on the instrument. 2 Remove the chip from the chip storage container and inspect the chip window. Clean BOTH sides of the chip window with the PerkinElmer-supplied clean-room cloth dampened with a 70% isopropanol solution in DI water. 3 Touch the Unload Chip button on the Home screen.
Notes: If performing multiple runs in a day, in between chip preparations the chip should be washed using the instrument and Chip Storage buffer as described in “Cleaning and Storing the Chip” on page 16. Be sure to periodically clean the O-rings on the top plate of the chip interface on the LabChip GX Touch/GXII Touch. Use the provided lint-free swab dampened with water (Milli-Q® or equivalent) to clean the O-rings using a circular motion. Allow the O-rings to dry before inserting a chip.
Running the Assay
Note: Chips can be primed independently from running assays. Touch the Prime button on the Home screen. Make sure the Buffer Tube is placed on the instrument.
1 Touch the Run button (see Figure 8). 2 Select the appropriate assay type (see Figure 7), plate name, well pattern, and whether to read wells in columns or rows. Select number of times each well is sampled under Adv. Settings (Figure 9). Touch the green arrow button.
3 In the Setup Run tab, select the operator name, the option to read barcode, the destination of the file, the inclusion of sample names, expected peaks, and excluded peaks and the filename convention. Select Auto Export to export results tables automatically (Figure 10). Touch the green arrow button.
Cleaning and Storing the Chip
After use, the chip must be cleaned and stored in the chip container. 1 Place the chip into the plastic storage container. The sipper should be submerged in the fluid reservoir. 2 Remove the reagents from each well of the chip using vacuum. 3 Each active well (1, 3, 4, 7, 8, and 10) should be rinsed and aspirated twice with water (Milli-Q® or equivalent). 4 Add 100 µL of DNA Storage Buffer (white cap ) to the active wells. 5 Place the chip back into the LabChip GX Touch/GXII Touch instrument. Ensure that a Buffer Tube with 750 µL of water (Milli-Q® or equivalent) is in the buffer slot. 6 Touch the Wash button in the upper right corner in the Home Screen. The Wash screen opens (Figure 12).