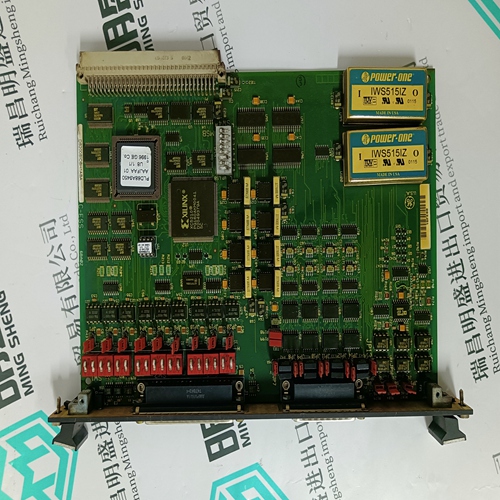
Home > Product > PLC programmable module > 140CRA93100 Analog module
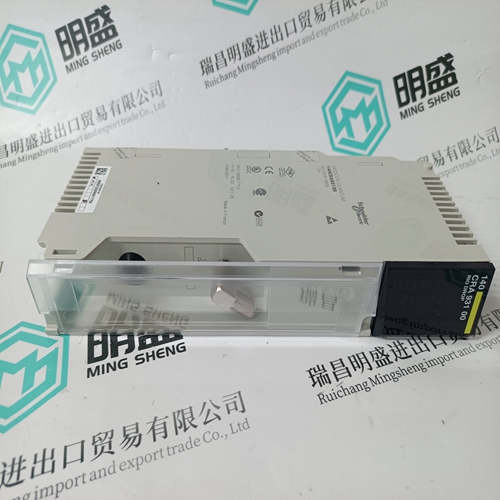
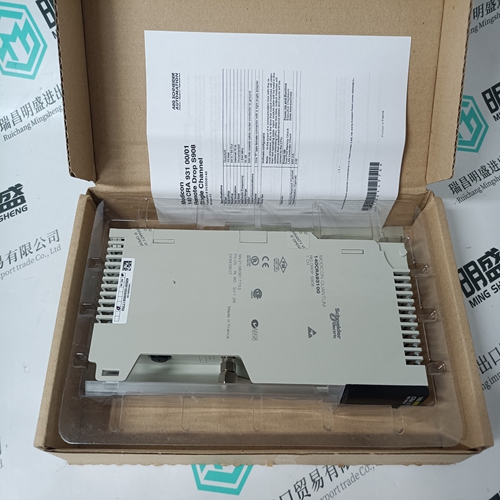
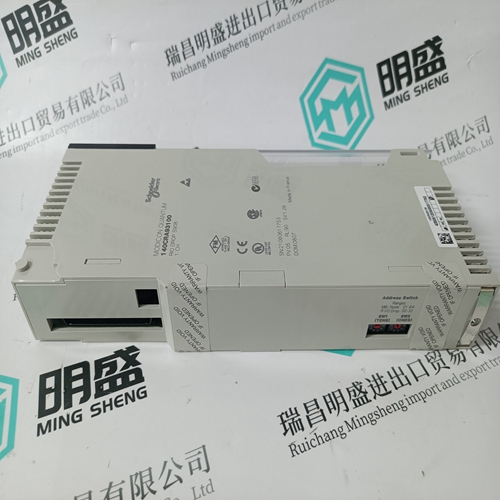
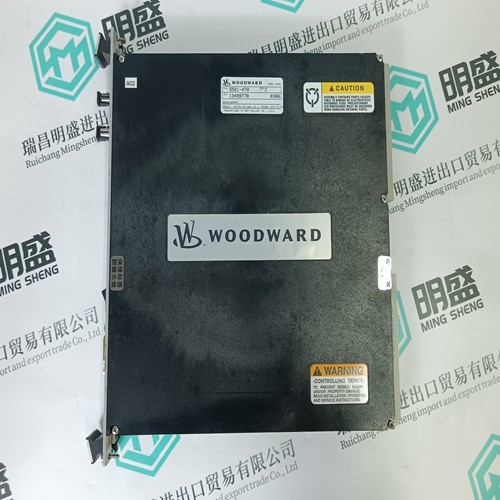
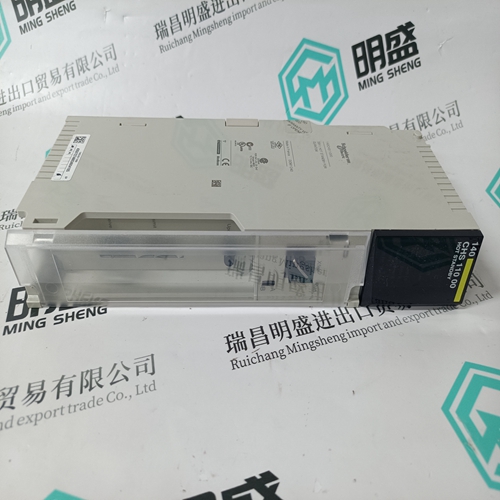
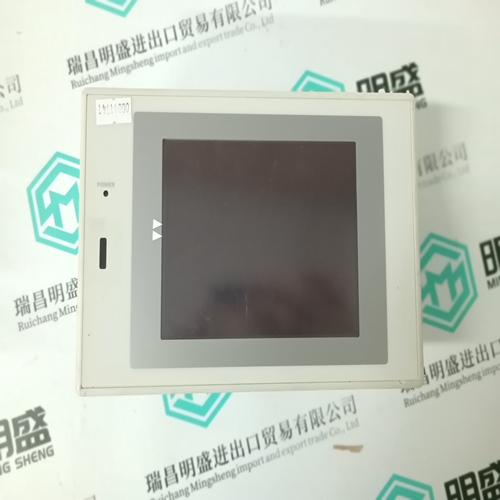
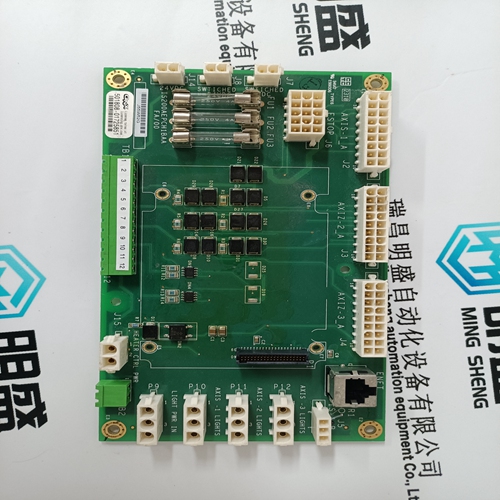
140CRA93100 Analog module
- Product ID: 140CRA93100
- Brand: 140PLC
- Place of origin: the United States
- Goods status: new/used
- Delivery date: stock
- The quality assurance period: 365 days
- Phone/WhatsApp/WeChat:+86 15270269218
- Email:stodcdcs@gmail.com
- Tags:140CRA93100Analog module
- Get the latest price:Click to consult
The main products
Spare parts spare parts, the DCS control system of PLC system and the robot system spare parts,
Brand advantage: Allen Bradley, BentlyNevada, ABB, Emerson Ovation, Honeywell DCS, Rockwell ICS Triplex, FOXBORO, Schneider PLC, GE Fanuc, Motorola, HIMA, TRICONEX, Prosoft etc. Various kinds of imported industrial parts
Products are widely used in metallurgy, petroleum, glass, aluminum manufacturing, petrochemical industry, coal mine, papermaking, printing, textile printing and dyeing, machinery, electronics, automobile manufacturing, tobacco, plastics machinery, electric power, water conservancy, water treatment/environmental protection, municipal engineering, boiler heating, energy, power transmission and distribution and so on.
140CRA93100 Analog module
2 Manually insert a larger volume pipette tip (~100 µL) into the sample well and dislodge the bubble. Rerun these sample wells. 3 Check the plate definitions. 4 Check the sample wells, especially around the edge of the plate where evaporation is fastest, and make a fresh plate if volumes are low. 5 If you suspect there may be debris in your samples, spin the sample plate down in a centrifuge (e.g. 3000 rcf for 5 minutes). Unclog the sipper by repriming the chip. See “LabChip Kit Essential Practices” on page 25 for instructions on how to reprime the chip. Symptom: No ladder peaks but sample peaks and marker peaks are present. Possible causes: 1 Low or no ladder volume in the Ladder Tube. What to do: 1 Add more ladder to the Ladder Tube and restart the run. Recommended standard ladder volume is 120 µL (minimum volume is 100 µL).
Possible causes:
1 No marker added to chip well 4. 2 If there is marker solution in chip well 4, the problem may be due to a marker channel clog. What to do: 1 This may be due to not filling marker well or chip remaining idle on instrument for extended period of time. Add or replenish the marker solution in the chip using the following procedure: • Touch the Unload Chip button on the Home screen to open the chip door. • Return the chip to the chip container ensuring the sipper is immersed in fluid. • Thoroughly aspirate all fluid from chip well 4 using a vacuum line. • Ensure that chip well 4 is rinsed and completely aspirated twice with water (Milli-Q® or equivalent). • Add Marker Solution (green cap ) to chip well 4.
• Reinsert the chip back into the instrument. • Restart the run. 2 Perform a marker channel unclogging procedure by repriming the chip. See “LabChip Kit Essential Practices” on page 25 for instructions on how to reprime the chip.
Unexpected sharp peak.
What to do: 1 Do one or all of the following: • Replace the 18 megohm, 0.22-µm filtered water (Milli-Q® or equivalent) water used for chip preparation. • Replace the buffer used for sample and reagent preparation. • Use a 0.22-micron filter for all water and buffers used for chip, sample, and reagent preparation. • Spin down sample plate to pellet any particulates.
Possible causes: 1 Electrode 7 is dirty and has contaminated the Gel-Dye mixture in well 7. What to do: 1 Before restarting the run, clean electrode 7. Remove the chip and follow the electrode cleaning procedure. We recommend using the provided swab and isopropanol to manually clean electrode 7
slower than expected.
Note: Some migration time variance between chips or within a plate is considered normal chip performance. All chips are QC tested at PerkinElmer prior to shipment. Normal migration time windows for the markers are: • DNA 1K assay Lower Marker (23 - 33 seconds) • DNA 1K assay Upper Marker (41 - 67 seconds) Possible causes: 1 Incorrect Gel-Dye ratio. Migration time is sensitive to dye concentration and peaks will migrate too fast or too slow if the dye concentration in the gel is too low or too high, respectively. Note: Excess dye within the separation channel will slow down migration, and less dye in the separation channel will make peaks migrate faster. 2 Particulates from the samples may be clogging the separation channel (this will slow down migration). 3 Gel-Dye was not primed properly into the chip. What to do: 1 Prepare a fresh Gel-Dye solution. Wash and reprime the chip with the new Gel-Dye mixture. See “LabChip Kit Essential Practices” on page 25 for instructions on how to wash and reprime the chip. 2 If fast or slow migration is observed repeatedly on a new chip, contact technical support to arrange return of the chip to PerkinElmer. Please send a data file showing the failure along with the return request.
