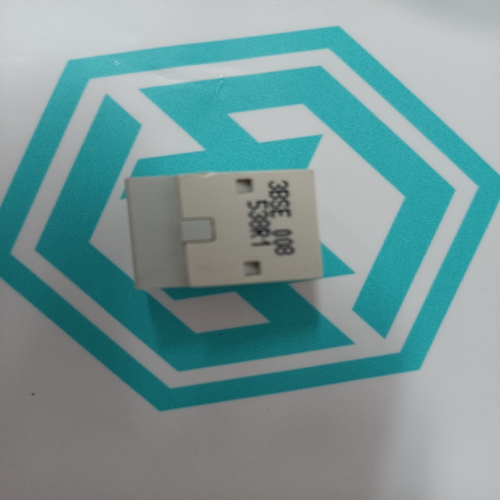
Home > Product > DCS control system > HONEYWELL 51304511-200 spot module
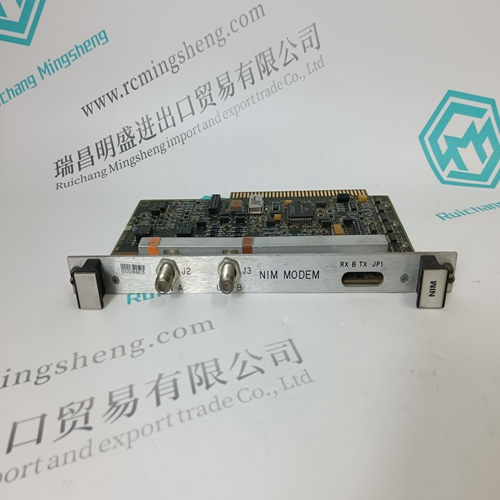
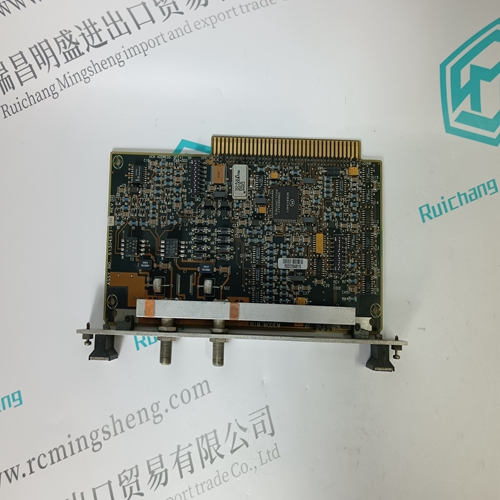
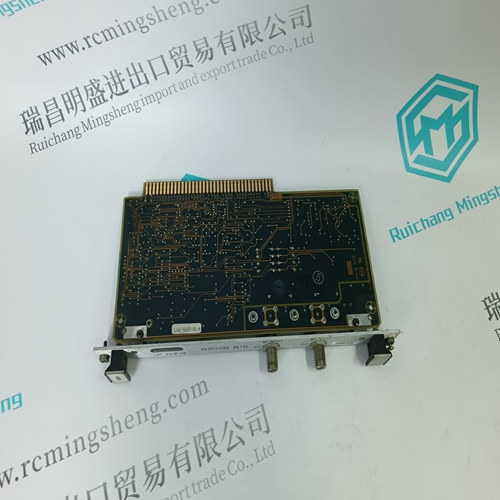
HONEYWELL 51304511-200 spot module
- Product ID: 51304511-200
- Brand: HONEYWELL
- Place of origin: The United States
- Goods status: new/used
- Delivery date: stock
- The quality assurance period: 365 days
- Phone/WhatsApp/WeChat:+86 15270269218
- Email:stodcdcs@gmail.com
- Tags:HONEYWELL 51304511-200spotmodule
- Get the latest price:Click to consult
The main products
Spare parts spare parts, the DCS control system of PLC system and the robot system spare parts,
Brand advantage: Allen Bradley, BentlyNevada, ABB, Emerson Ovation, Honeywell DCS, Rockwell ICS Triplex, FOXBORO, Schneider PLC, GE Fanuc, Motorola, HIMA, TRICONEX, Prosoft etc. Various kinds of imported industrial parts
HONEYWELL 51304511-200 spot module
• Insert the screws through the mounting holes in the UDC+ bus and the UDC– bus. Turn each screw to ensure the correct positioning of the chopper. • Tighten the chopper mounting screws to 10 Nm. • Tighten the UDC+ and UDC– bus screws to 6 Nm.WARNING! Before starting the installation work inside the ACS 600: Switch off the ACS 600 power supply. Wait for five minutes to ensure that the intermediate circuit is discharged. Switch off dangerous voltages connected from external circuits to the digital inputs and to the relay outputs of the ACS 600. WARNING! Do not touch the printed circuit boards. The integrated circuits are extremely sensitive to electrostatic discharge. The dimensional drawing of the NBRA-658/659/669 is presented in Appendix A.• Insert screws in the holes. Use plugs if necessary. Tighten the screws far enough to be able to carry the weight of the chopper. • Lift the chopper onto the mounting screws. • Tighten the screws.
• Make holes in the four positions. Ensure that the dust from drilling does not enter the unit you are installing or other equipment at the installation site.
Installation Site
The degree of protection of the NBRA-658/659/669 is IP00. This must be taken into account when selecting the installation site. Installation in a cabinet is highly recommended. The following restrictions should also be observed: • Leave 150 mm free space below and above the braking chopper. • Leave 300 mm free space below and above the ACS 600 unit. • Leave enough space for the fuses. • To prevent the chopper from overheating, do not mount it directly above the braking resistor(s). • The maximum lengths of the chopper and resistor cables are 5 m and 10 m respectively. Mounting Instructions for NBRA-658/659/669 • Ensure that the chopper voltage level is set correctly (see page 3-1). • Check the intended installation site for sufficient room. Mark the locations for the four holes.
