Home > Product > DCS control system > A3120/022-000 CSI3120 Vibration transducer

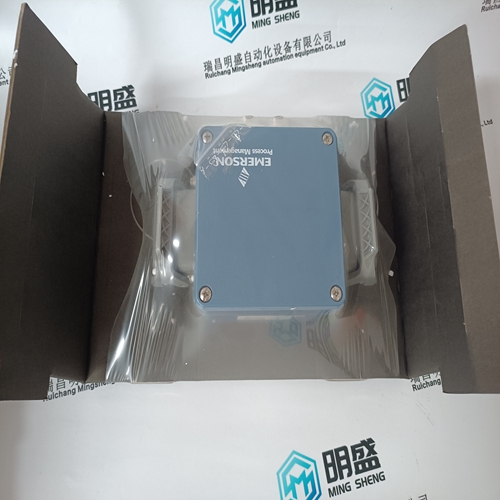
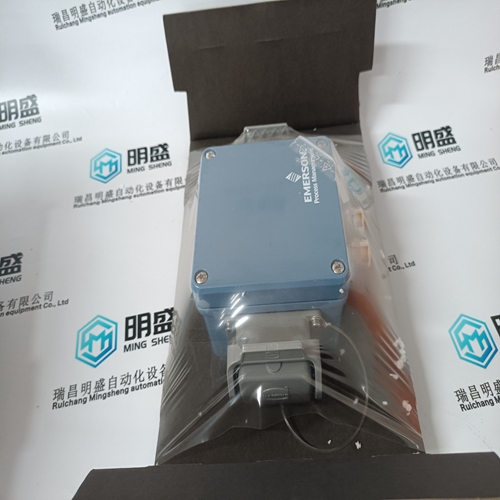
A3120/022-000 CSI3120 Vibration transducer
- Product ID: A3120/022-000 CSI3120
- Brand: EMERSON
- Place of origin: The United States
- Goods status: new/used
- Delivery date: stock
- The quality assurance period: 365 days
- Phone/WhatsApp/WeChat:+86 15270269218
- Email:stodcdcs@gmail.com
- Tags:A3120/022-000 CSI3120Vibration transducer
- Get the latest price:Click to consult
The main products
Spare parts spare parts, the DCS control system of PLC system and the robot system spare parts,
Brand advantage: Allen Bradley, BentlyNevada, ABB, Emerson Ovation, Honeywell DCS, Rockwell ICS Triplex, FOXBORO, Schneider PLC, GE Fanuc, Motorola, HIMA, TRICONEX, Prosoft etc. Various kinds of imported industrial parts
Products are widely used in metallurgy, petroleum, glass, aluminum manufacturing, petrochemical industry, coal mine, papermaking, printing, textile printing and dyeing, machinery, electronics, automobile manufacturing, tobacco, plastics machinery, electric power, water conservancy, water treatment/environmental protection, municipal engineering, boiler heating, energy, power transmission and distribution and so on.
A3120/022-000 CSI3120 Vibration transducer
By setting data using four DIP switches on the check board, you can output internal data to the five-digit display, analog voltage output circuit, channels 1 and 2 (LM and SM or CH1 and CH2). Data on channels 1 and 2 is the one from an 8-bit D/A convertor. The correspondence between channel 1/2 and the check terminal is listed below.Press the four setting switches at the same time for at least a second ."FFFFF" will be displayed on the indicator. <2> Turn off the switches and press the "MODE" switch. "d-00" will be displayed on the indicator and the system will enter the mode for monitoring internal data. In this mode, the motor can be operated normally. <3> Press the "UP" or "DOWN" switch while holding down the "MODE" switch. The indicator display will change in the range of "d-00" to "d-12". <4> The following shows the correspondence between the destinations of the internal data of the serial spindle and addresses d-01 to d-12. d-01 to d-04: Specifies the amount of data to be output to the indicator, data shift, and output format (decimal or hexadecimal). d-05 to d-08: Specifies the amount of data to be output to the LM terminal, data shift, and whether an offset is provided. d-09 to d-12: Specifies the amount of data to be output to the SM terminal, data shift, and whether an offset is provided. <5> Select address d-xx in the procedure for setting data described in

Turn off the "MODE" switch.
"d-xx" will disappear 0.5 second later, and the data will be displayed for a second. Change the set data using the "UP" or "DOWN" switch within the second the data is displayed. <7> When more than a second elapses without pressing the "UP" or "DOWN" switch, data cannot be changed. If the "MODE" switch is turned on or off, however, setting can be started from the beginning of the step in item <6>.
When the interface with the CNC is type B or FSSB, the battery for the absolute pulse coder is required for absolute-position detection. The battery for the absolute pulse coder is installed in the following two methods: Method 1: Installing a special lithium battery in the SVM • Use A06B-6073-K001. Method 2: Using a battery case (A06B-6050-K060) • Use A06B-6050-K061 or a commercially available size-D battery. • A connection cable (A06B-6093-K810) is required.A special lithium battery (A06B-6073-K001) can be installed in the SVM (see the figure below). [Installation procedure] (1) Remove the battery cover from the SVM. (2) Install the battery in the SVM as shown in the figure below. (3) Install the battery cover. (4) Attach the battery connector to CX5X or CX5Y of the SVM
Replacing the Battery
To prevent absolute-position information of the absolute pulse coder from being lost, replace the battery while the power for control is on. Follow the procedure explained below. 1. Make sure that the power to the SVM is on (the 7-segment LED on the front of the SVM is on). 2. Make sure that the emergency stop button of the system has been pressed. 3. Make sure that the motor is not activated. 4. Make sure that the DC link charge LED of the SVM is off. 5. Remove the old battery, and install a new battery. 6. This completes the replacement. You can turn off the power to the system.
Connecting a Battery to Multiple SVMs There are two methods for connecting a battery to more than one SVM. (1) Connecting a battery installed in one SVM to other SVMs (2) Connecting a separate battery unit to SVMs
When replacing the battery, be careful not to touch bare metal parts in the panel. In particular, be careful not to touch any high-voltage circuits due to the electric shock hazard. 2 Before replacing the battery, check that the DC link charge confirmation LED on the front of the servo amplifier is off. Neglecting this check creates an electric shock hazard.3 Install the battery with correct polarity. If the battery is installed with incorrect polarity, it may overheat, blow out, or catch fire. 4 When installing the battery with its connector attached to connector CX5X or CX5Y, attach the factory-installed protection socket to the unused connector. When the +6-V and 0-V pins of CX5X or CX5Y are short-circuited, the battery may overheat, blow out, or catch fire.