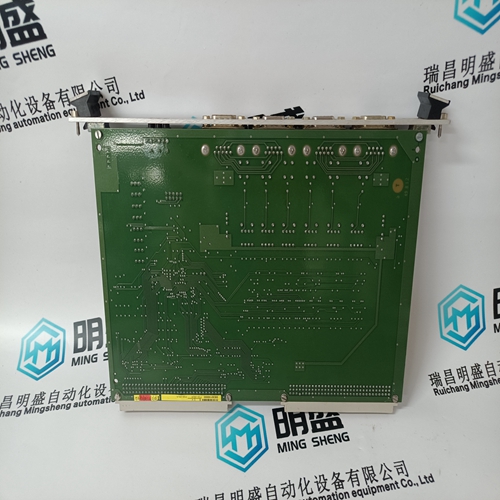
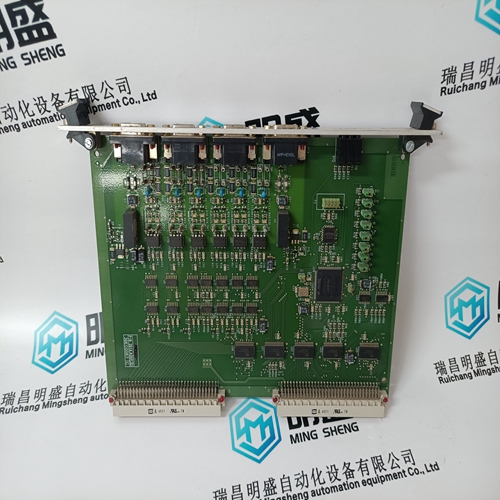
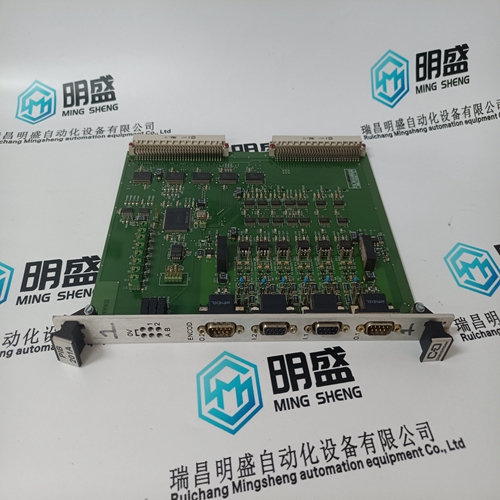
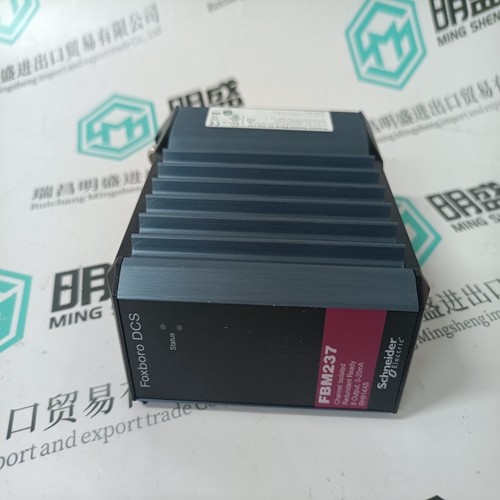
Home > Product > Robot control system > ALSTOM PIB1201A 3BEC0067 Control card
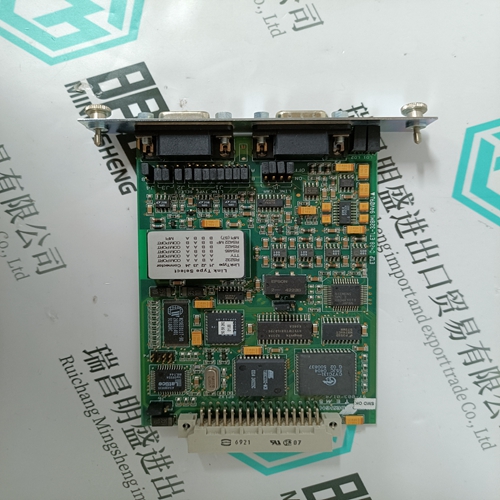
ALSTOM PIB1201A 3BEC0067 Control card
- Product ID: PIB1201A 3BEC0067
- Brand: ALSTOM
- Place of origin: the United States
- Goods status: new/used
- Delivery date: stock
- The quality assurance period: 365 days
- Phone/WhatsApp/WeChat:+86 15270269218
- Email:stodcdcs@gmail.com
- Tags:ALSTOMPIB1201A 3BEC0067Control card
- Get the latest price:Click to consult
The main products
Spare parts spare parts, the DCS control system of PLC system and the robot system spare parts,
Brand advantage: Allen Bradley, BentlyNevada, ABB, Emerson Ovation, Honeywell DCS, Rockwell ICS Triplex, FOXBORO, Schneider PLC, GE Fanuc, Motorola, HIMA, TRICONEX, Prosoft etc. Various kinds of imported industrial parts
Products are widely used in metallurgy, petroleum, glass, aluminum manufacturing, petrochemical industry, coal mine, papermaking, printing, textile printing and dyeing, machinery, electronics, automobile manufacturing, tobacco, plastics machinery, electric power, water conservancy, water treatment/environmental protection, municipal engineering, boiler heating, energy, power transmission and distribution and so on.
ALSTOM PIB1201A 3BEC0067 Control card
The following procedure determines if the currently installed version of 369PC requires upgrading: 1. Run the 369PC software. 2. Select the Help > About 369PC menu item. 3. Compare the version shown in this window with the version on the Products CD or website. If the installed version is lower than the version on the CD or web, then 369PC needs to be upgraded. 4. To upgrade the 369PC software, follow the installation instructions shown in Section 4.2.2: INSTALLING 369PC on page 4–3. The installation program will automatically upgrade the 369PC software.
1. Connect the computer containing the 369PC software to the relay via one of the RS485 ports or directly via the RS232 faceplate port. 2. Run the 369PC software. Once the 369PC program starts to operate, it does not automatically communicate with the relay unless it is enabled to do so (see the Startup Mode option below). The LED status and display message shown will match actual relay state if communications is established. 3. To setup communications, select Communication > Computer menu item.

UPGRADING RELAY FIRMWARE
To upgrade the relay firmware, connect a computer to the 369 via the front RS232 port. Then run the 369PC program and establish communications with the relay. 2. Select the Communication > Upgrade Firmware menu item. The following window will appear: 3. Select Yes to proceed or No to abort. Remember, all previously programmed setpoints will be erased! If you have not already created a setpoint file, it is highly recommended that the current setpoints be saved to disk by following the procedure in Section 4.2.6: CREATING A NEW SETPOINT FILE on page 4–5 before continuing with the firmware upgrade. 4. The Load Firmware window will appear. Locate the firmware file to load into the relay and select OK to proceed or Cancel to quit the firmware upgrade.5. The Upload Firmware dialog box shown below will appear. This provides one last chance to cancel the firmware upgrade. Select Yes to proceed, No to load a different firmware file, or Cancel to end the firmware upgrade. This will be the last chance to cancel the firmware upgrade – all previously programmed setpoints will be erased! 6. The 369PC software automatically puts the relay into upload mode and then begin loading the file selected. 7. When loading is complete, the relay will require programming. To reload the previously programmed setpoints, see the procedure in Section 4.2.8: DOWNLOADING A SETPOINT FILE TO THE 369 on page 4–6.
CREATING A NEW SETPOINT FILE
1. To create a new setpoint file, run the 369PC Program. It is not necessary to have a 369 relay connected to the computer to create the file. The 369PC status bar will indicate that the program is in “Editing File” mode and “Not Communicating”. 2. From the Setpoint menu, choose the appropriate setpoints section to program, for example, S2 System Setup > Output Relay Setup to enter output relay setup setpoints. Figure 4–3: OUTPUT RELAY SETUP WINDOW 3. When you are finished programming a page, select OK and store the information to the PC’s scratchpad memory (note: this action does store the information as a file on a disk). 4. Repeat steps 2 to 3 until all the desired setpoints are programmed. 5. Select the File > Save As menu item to store these setpoints to the disk. Enter the location and file name of the setpoint file with a file extension of ‘.369’ and select OK. 6. The file is now saved. See Section 4.2.8: DOWNLOADING A SETPOINT FILE TO THE 369 on page 4–6 for instructions on reloading this file to the 369.
